New Garden Preparation Tips
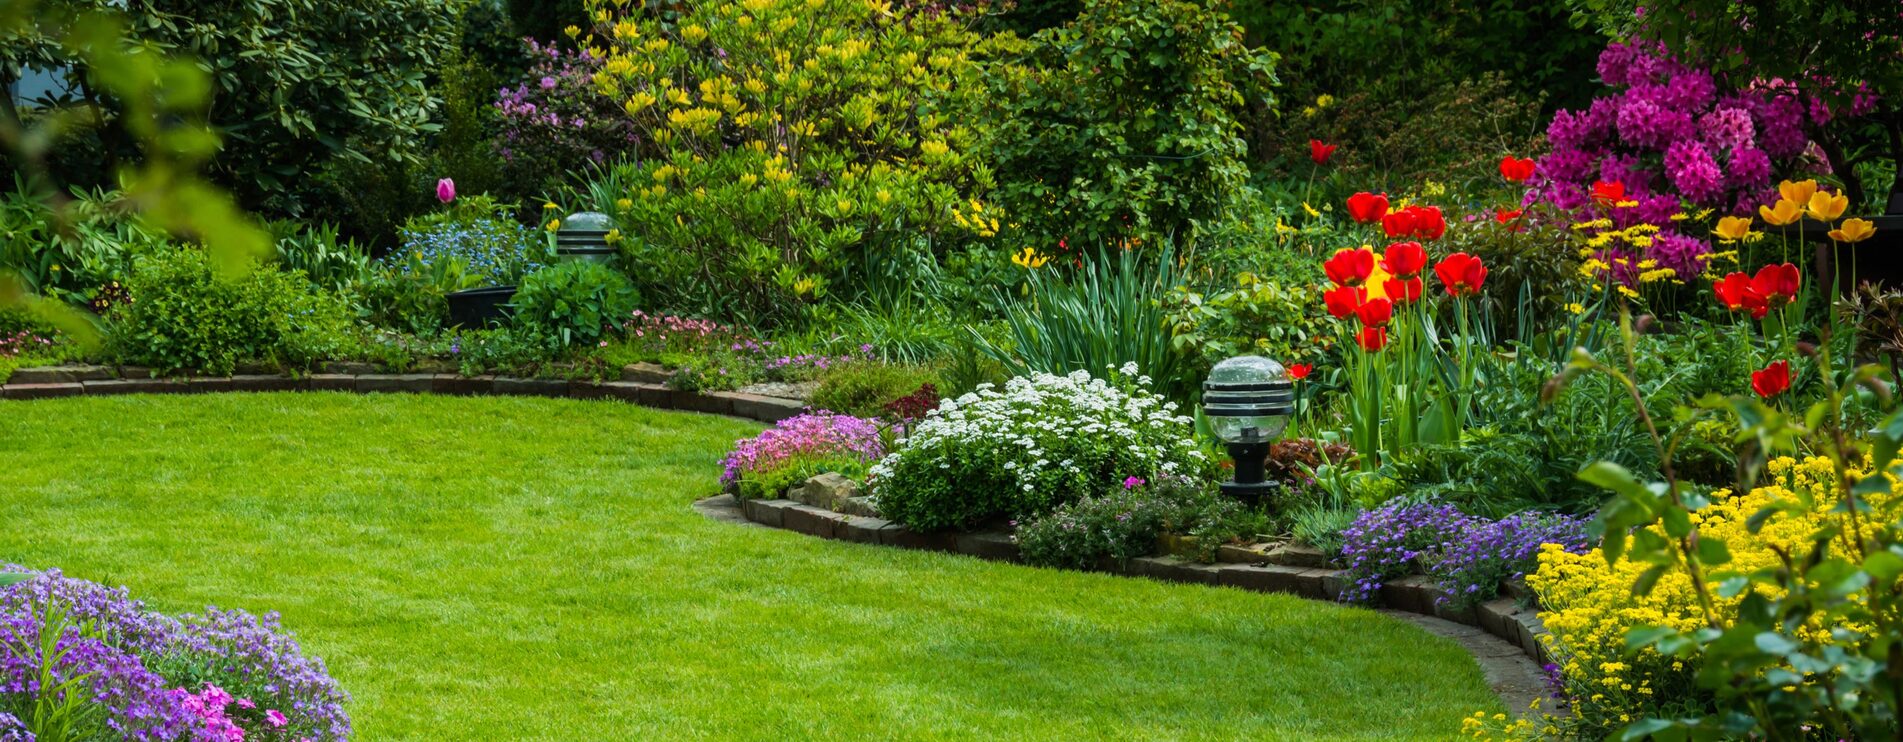
Are you eager to start a new garden that will bloom with beautiful flowering plants? Follow time-saving tips for preparing in advance and there will be less work on planting day!
Organize Supplies and Tools
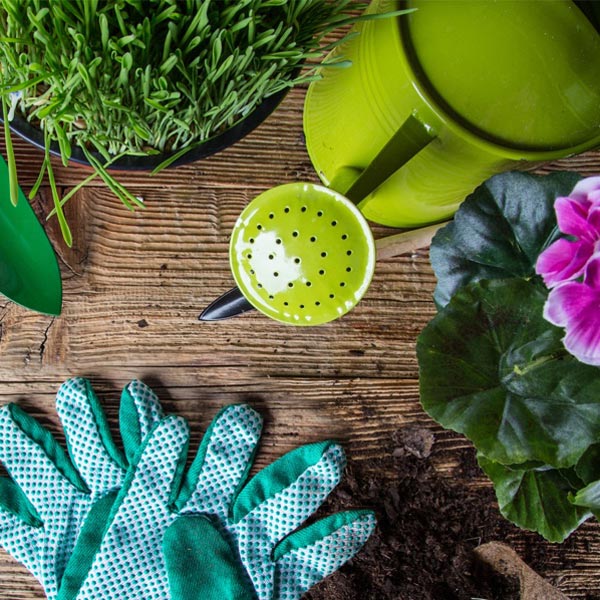
A basic toolkit is one of the keys to successfully starting and maintaining a new garden. Round up your garden supplies and tools, and replace any that are beyond repair. Below is a checklist of our most-used tools:
- Water resistant gloves
- Pruning shears
- Loppers (long-handled pruners)
- Hand trowel
- Spade (square shovel)
- Garden hose with adjustable nozzles
- Watering can
Be sure to disinfect tools used recently before tending plants or soil with them. And sanitize tools after each garden use, as this helps reduce the spread of plant diseases in the garden. Here are some easy ways to disinfect your tools.
Clean Up the Area
Grab some gloves, pruners and a rake to round up the last of winter’s remnants, such as weeds, twigs and branches (which are great for composting!). Then, edge the garden bed to create a physical barrier between lawn and garden. This delineation prevents turf intrusion and provides a clean, organized environment for plants. Edging also adds a decorative touch as it gives the bed a distinct shape.
- For a new bed, use a hose to mark the outline of the garden. For re-edging, follow the existing boundary.
- Drive a spade or half moon metal edger just inside the hose, straight into the ground, as deep as it will go.
- Pull up the grass, and continue until the entire garden edge is free of turf.
- Fill in the newly open space with mulch to prevent weeds.
- The edge can also be lined with decorative borders, such as brick, wood or stone. For tips, visit this Illinois Agriculture Extension article on Bed Edges.
Prep Soil for the New Garden
Preparing the new garden area requires working the soil. Here are steps to follow:
1. Remove grass, sod and weeds first
Make sure the grass is a little moist, rather than soggy or dry. Delineate the area for planting with an extension cord or other lightweight item. Using a shovel, make a cut along your line, and then make a second (parallel) cut about a 12 inch width away from the first line cut. Next, make a perpendicular cut between the parallel cuts and you now have a square of grass to pull up with the shovel. Continue this until all the grass or sod is removed. Make sure weeds are dug up as well. Dispose of matter away from the property.
2. Test the soil
The soil (loam) is composed of sand, silt, and clay, and the ideal is to have equal parts. When one predominates, the loam becomes clay-heavy and drains slowly, or sand-heavy and drains too fast. Testing the soil before you plant is the best way to find out what, if any, amendments need to be made. Your local county extension office will test soil samples and make recommendations. Search online by your state and county, or use this USDA directory to find your local extension office.
3. Check soil consistency before working it
When the soil is not too wet, dig up a clump, put it in your hand, and press lightly. It should feel crumbly or granular and may have visible lumps, which is fine. Soil that is compact, sticky or muddy should not be dug until it dries.
4. Work the soil
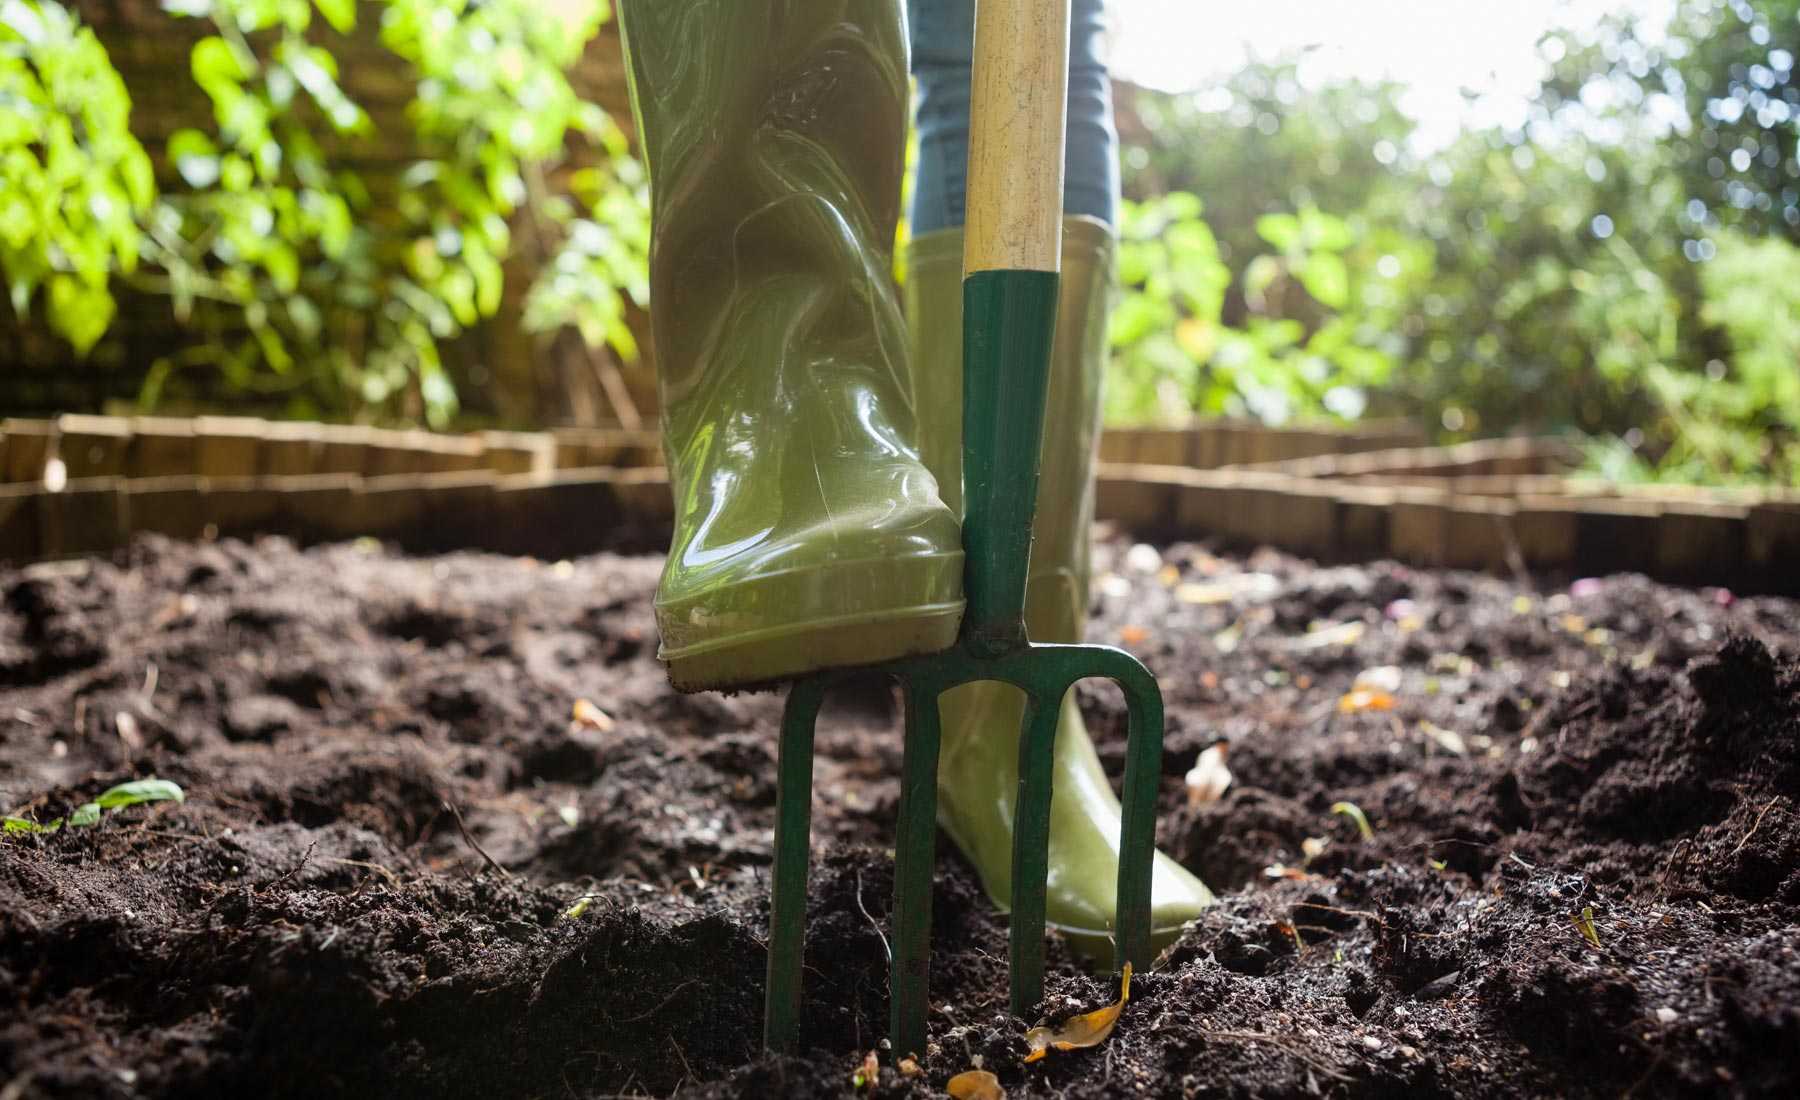
Use a spade or shovel and work the soil by gently turning it over, down to between five and ten inches, and deeper for larger plants and shrubs. Carefully remove large rocks and other debris.
5. Cover with organic matter
This is one of the best things you can do for the soil before planting. Covering with organic matter before planting helps regulate soil temperatures, enriches the soil with nutrients, increases water retention, and improves aeration and drainage. After the soil is turned over, spread a layer of organic matter such as compost, two to three inches thick, over the bed. Turn the soil over again to mix the compost in. In addition to compost, other organic matter includes manure, peat moss, and composted sawdust—often found at nurseries.
Plan Your Plant Dates
With preparation completed, it’s time to finalize planting dates. You can use last spring frost dates, which refer to average final spring frost in your growing zone—ideally, the outside temperature would be between 45 and 60 degrees Fahrenheit for planting. You can view our shipping page to see what the recommended timeframe is for your area, as we ship plants based on their ideal planting time in each growing zone.
If you placed an order with Bluestone, plants will arrive in biodegradable pots along with planting instructions. Getting your new starts in the ground is fast and relatively stress-free, as pot and plant go into the soil together. That means less work for the gardener and little to no transfer shock to the plant.
A New Garden’s Many Rewards
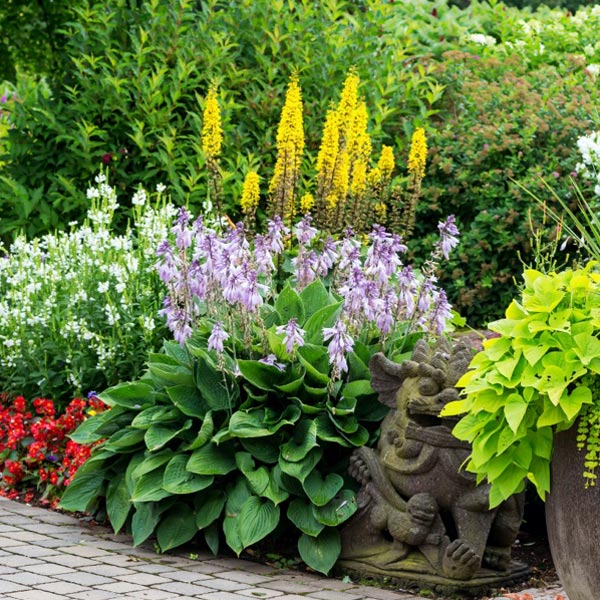
Reap monumental joy with minimal effort by giving your plants the best start. The healthier their home, the stronger they will grow. And soon you will be rewarded with a spectacular garden filled with lush, colorful blooms.
